DV-to-DVD Wizard
Use the DV-to-DVD Wizard to easily create a movie from the content of your DV tape then burn it onto a disc.
Step 1: Scan for scenes
Scan the DV tape and select the scenes you want to add to your movie.
1 Connect your camcorder to your computer and turn on the device. Set it to Play (or VTR/VCR) mode.
2 Select a recording device under Device.
3 Click the Capture format arrow to select a file format for captured videos.
4 Specify whether to burn all videos of the tape (Burn whole tape) or scan your DV tape (Scene detection).
To burn whole tape:
1 Select Burn whole tape and then specify the tape duration under Duration.
2 Click Next to apply template and burn onto DVD.
To use Scene detection:
1 After selecting Scene detection, choose whether to scan the tape from the Beginning or Current position.
· Beginning: Scans the tape for scenes from the beginning. VideoStudio will automatically rewind the tape if the tape position is not in the beginning.
· Current position: Scans the tape for scenes from the current tape position.
2 Specify the scan speed, then click Start Scan to begin scanning the DV device for scenes. Scenes are video segments that are distinguished by shooting date and time.

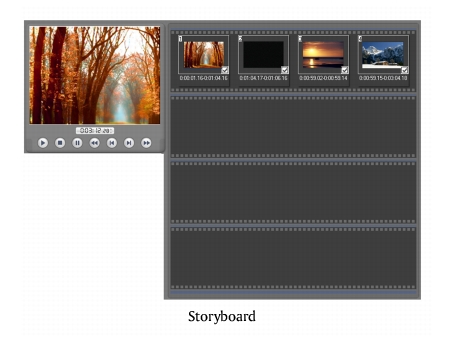
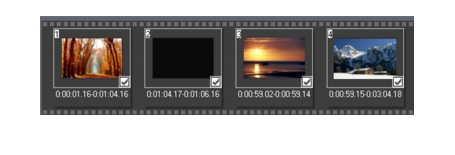
3 In the Storyboard, choose the scenes you want to include in your movie. To do this, select a scene then click Mark Scene.

4 Click Next to go to the next step.
Tip: Click ![]() and select Save DV Quick Scan Digest to save scanned file and import without having to scan again or Save DV Quick Scan Digest as HTML to manage large number of tapes by printing this HTML file and attaching it with your tapes.
and select Save DV Quick Scan Digest to save scanned file and import without having to scan again or Save DV Quick Scan Digest as HTML to manage large number of tapes by printing this HTML file and attaching it with your tapes.
Step 2: Apply a theme template and burn to DVD
1 Specify a Volume name and Recording format for your movie.
Note: If you have more than one burner installed in your computer or the default drive is not a burner, specify the burner you want to use in the Advanced Settings dialog box.
2 Select a theme template from one of the available presets to apply to your movie then select its output video quality.
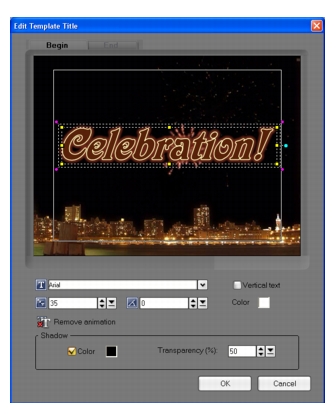
3 To customize the theme template text, click Edit Title.

4 In the Begin tab of the Edit Template Title dialog box, double-click the text to modify. You can also modify its attributes like font, color or shadow settings.
5 Click the End tab to modify its text. Click OK.
6 To mark your video clips with its date information, click Add as title in Video date information. Select Entire video if you want it to appear from beginning to end. Or specify duration.
7 Click ![]() to burn your movie file to a disc.
to burn your movie file to a disc.
Tip: If you see at the bottom of the dialog box that the movie is too big to fit onto a DVD, click Fit & Burn.